As an Amazon Associate, we earn from qualifying purchases.
Short answer: Most planet detail shows between 150x and 250x on a steady night, and the useful maximum is about twice your aperture in millimeters. If you already own a telescope, the eyepiece sets the magnification.

- Jupiter: Cloud bands at 50x, Great Red Spot at 150 to 200x
- Saturn: Rings visible at 25x, Cassini Division at 100 to 150x
- Mars: Polar caps at 100x+, dark surface markings at 200x+ (best during opposition)
- Venus: Crescent phases at 30 to 50x
- Mercury: Phases at 100x, surface detail at 200x+
- The practical sweet spot for all planets is 150 to 250x under good seeing conditions
- Maximum useful magnification = 2x your aperture in mm (e.g., 200mm scope = 400x max)
- Magnification formula: Telescope focal length / Eyepiece focal length = Magnification
Magnification = Telescope focal length / Eyepiece focal length. A telescope with a 1200mm focal length paired with a 6mm eyepiece gives 200x. A 3x Barlow lens triples the magnification of any eyepiece, effectively tripling your eyepiece collection for a fraction of the cost.
Want to try this yourself?
The gear this article covers. Details are below.
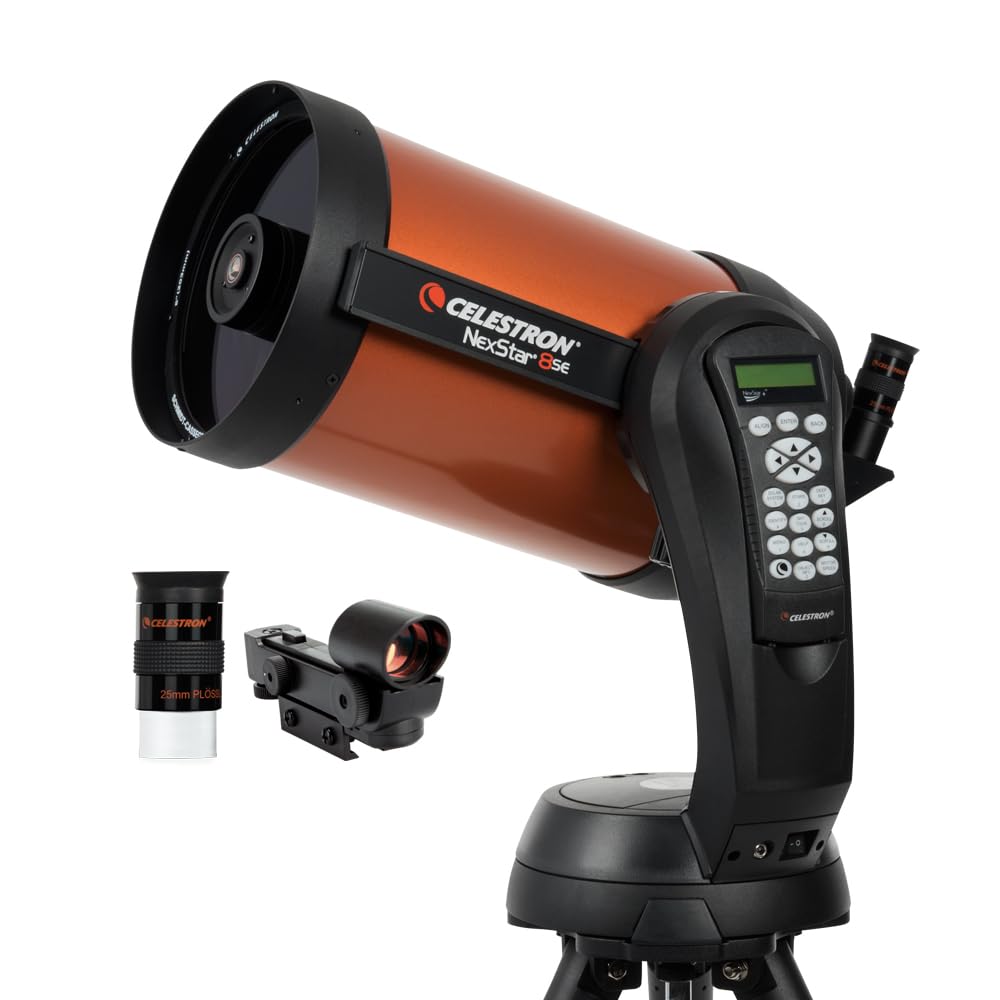 Best Overall for PlanetsCelestron NexStar 8SESee today's price on Amazon →
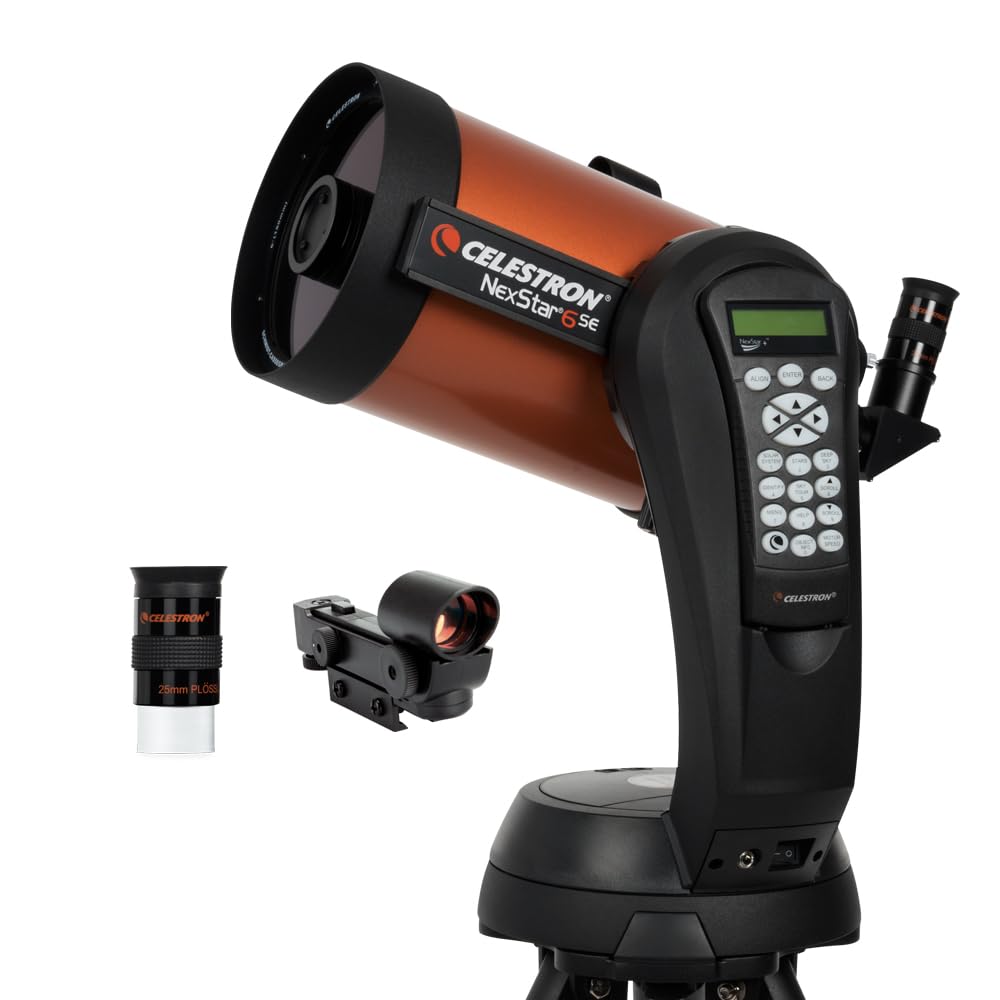 Best Mid-RangeCelestron NexStar 6SESee today's price on Amazon →Premium PickCelestron NexStar Evolution 8See today's price on Amazon →
Opens Amazon in a new tab. We may earn a commission at no extra cost to you.
Planet-by-Planet Magnification Guide
Every planet demands different magnification. The table below gives you the quick reference, then we break each one down with exactly what you will see at each power level.
| Planet | Minimum | Ideal | What You Will See | Best Aperture |
|---|---|---|---|---|
| Jupiter | 50x | 150 to 200x | Cloud bands, GRS, Galilean moons | 6" (150mm)+ |
| Saturn | 25x | 150 to 250x | Rings, Cassini Division, Titan | 6" (150mm)+ |
| Mars | 100x | 200 to 300x | Polar caps, dark markings (at opposition) | 8" (200mm)+ |
| Venus | 30x | 50 to 100x | Crescent phases, cloud features with UV filter | 3" (70mm)+ |
| Mercury | 100x | 200 to 250x | Phases, subtle surface shading | 4" (100mm)+ |
| Uranus | 100x | 150 to 200x | Tiny blue-green disc | 6" (150mm)+ |
| Neptune | 150x | 200x+ | Tiny blue disc, Triton nearby | 8" (200mm)+ |
Jupiter
Jupiter is best viewed at 150 to 200x magnification. It is a low-contrast target, and pushing beyond 250x usually makes the image soft and washed out.
Jupiter is the largest planet in our solar system and one of the brightest objects in the night sky, outshone only by the Sun, Moon, and Venus. Even from a light-polluted backyard, Jupiter rewards observation.
Our guide to Jupiter through a telescope shows what each aperture reveals, from the main belts to the Great Red Spot.
Here is what each magnification level reveals:
- 25 to 50x: A bright disc with two dark equatorial cloud bands clearly visible. The four Galilean moons (Io, Europa, Ganymede, Callisto) appear as tiny dots flanking the planet.
- 80 to 120x: Additional cloud bands become visible. You can begin to detect the color contrast between the cream-colored zones and darker belts. Moon shadows transiting the disc become visible on good nights.
- 150 to 200x: The Great Red Spot becomes detectable as an oval notch in the South Equatorial Belt. Festoons (dark fingers stretching between bands) appear. The equatorial zone shows subtle color variations.
- 200 to 300x: On nights of excellent seeing, fine structure within the cloud bands emerges. The GRS shows internal detail and color. White ovals and barges become visible in 8" and larger scopes.
Tracking the Galilean moons is one of astronomy's great pleasures. Their positions change noticeably within a single observing session. Even a small scope at 50x shows all four, and you can watch them disappear behind Jupiter or cast shadows on its cloud tops.
Read also: Best Telescopes to See Jupiter (Planet, Red Spot, and Moons)
Saturn
Saturn's rings are visible at just 25x. The Cassini Division (the dark gap between the A and B rings) needs 100 to 150x. Push to 200 to 250x on steady nights for the best detail.
Seeing Saturn's rings for the first time through a telescope is the moment that turns people into astronomers. Nothing in astrophotography or documentary footage prepares you for how surreal it looks in the eyepiece.
With the rings tipped only a few degrees in late 2026, the Cassini Division is harder than usual; our guide to Saturn through a telescope explains what to expect at each aperture.
- 25 to 50x: Saturn appears as a small disc with "ears" or an oval shape. You know the rings are there, but they do not separate from the planet cleanly.
- 80 to 100x: The rings clearly detach from the disc. You can see the shadow the planet casts on the rings. Titan, Saturn's largest moon, is visible as a bright dot nearby.
- 100 to 150x: The Cassini Division appears as a thin dark line separating the bright B ring from the dimmer A ring. The planet's banding becomes visible, subtler than Jupiter's but definitely there.
- 200 to 300x: On excellent nights with 8" or larger aperture, the Encke gap in the A ring becomes detectable. Several fainter moons (Rhea, Dione, Tethys) appear. Cloud belt detail on the disc sharpens.
Saturn's ring tilt changes over a 29-year cycle. When the rings are edge-on (next in 2025), Saturn looks almost ring-less. When tilted at maximum (around 2032), the full glory of the ring system is on display.
Read also: What Telescope Size Do I Need to See Saturn?
Mars
Mars is small and demands high magnification, ideally 200x or more. But timing matters more than equipment: Mars is only worth observing during opposition, when it is closest to Earth.
Every 26 months, Mars swings close to Earth in an event called opposition. During opposition, Mars can appear 5 to 6 times larger in apparent diameter than when it is on the far side of its orbit. Outside opposition, even a 12" telescope shows Mars as a small, featureless orange blob.
- 50 to 80x: Mars appears as a bright orange-red disc. You might detect the brighter polar cap if it is angled toward Earth.
- 100 to 150x: The polar ice cap becomes clearly visible as a white spot. Large-scale dark surface features like Syrtis Major begin to emerge.
- 200 to 300x: Dark albedo markings across the surface become obvious. Both polar caps (if visible) show distinct boundaries. On exceptional nights, you may detect subtle cloud or haze over the limb.
Mars rewards patience and timing more than any other planet. Mark opposition dates on your calendar and observe Mars every clear night for several weeks around that date. The best oppositions (perihelic) happen when Mars is also near its closest orbital point to the Sun, making it appear even larger.
Venus
Venus is the brightest planet and shows dramatic crescent phases at just 30 to 50x. High magnification is not necessary, but a UV or violet filter reveals subtle cloud structure.
Venus is a unique target because there are no surface features to see. The planet is covered by thick clouds. What makes Venus compelling is its phases: it cycles from a tiny full disc (when far from Earth) to a large, thin crescent (when closest). Watching the phase change over weeks is deeply satisfying.
- 30 to 50x: The crescent or gibbous phase is clearly visible. Near inferior conjunction, Venus becomes a large, dramatic crescent.
- 80 to 150x: The crescent grows impressively large. A UV-pass filter (Wratten #47) can reveal subtle Y-shaped cloud patterns in the atmosphere.
Venus is so bright that it can be observed in broad daylight if you know exactly where to point. Many observers prefer daytime Venus observation because the lower contrast against the blue sky reduces the glare that overwhelms night observation.
Mercury
Mercury is tricky to observe because it never strays far from the Sun. When you catch it at maximum elongation, use 100 to 250x to see its phases.
- 50 to 100x: Mercury appears as a tiny disc. You can detect whether it is in gibbous or crescent phase.
- 150 to 250x: The phase is sharp and clear. On exceptional nights with a large aperture, very subtle surface albedo variations become barely detectable.
The challenge with Mercury is that it is always low on the horizon at dusk or dawn, meaning you observe through the thickest, most turbulent layer of atmosphere. An orange (#21) or red (#25) filter reduces atmospheric dispersion and sharpens the view.
Uranus and Neptune
The ice giants are small and distant. Uranus appears as a tiny blue-green disc at 150x+. Neptune is even smaller and needs 200x+ to confirm as a disc rather than a star.
You will not see surface detail on either planet in any amateur telescope. The goal is to resolve them as discs (not pinpoints like stars) and appreciate their distinctive colors: Uranus is pale blue-green, Neptune is a deeper blue.
- Uranus at 100 to 150x: Appears as a slightly "fat" star with a distinct greenish tint. At 200x, the disc shape becomes unmistakable.
- Neptune at 150 to 200x: Similar exercise, but smaller. The deep blue color confirms identification. Triton, Neptune's largest moon, is visible in 10" and larger scopes as a faint dot nearby.
Finding these planets requires accurate star charts or a GoTo mount. They are too faint to identify by eye, and they move slowly enough that you need precise coordinates.
Maximum Useful Magnification Explained
Every telescope has a magnification ceiling. Beyond it, images become dim and blurry no matter what eyepiece you use. The rule: maximum useful magnification is approximately 2x the aperture in millimeters (or 50x per inch of aperture).
This is a hard optical limit. It is set by the resolving power of the aperture, not by the eyepiece. You can always increase magnification by using a shorter eyepiece, but beyond the useful limit, you are just magnifying blur.
| Aperture | Max Useful Mag | Typical Planetary Mag |
|---|---|---|
| 50mm (2") | 100x | 50 to 80x |
| 70mm (2.8") | 140x | 70 to 120x |
| 100mm (4") | 200x | 100 to 180x |
| 114mm (4.5") | 228x | 120 to 200x |
| 130mm (5.1") | 260x | 150 to 230x |
| 150mm (6") | 300x | 150 to 250x |
| 200mm (8") | 400x | 200 to 300x |
| 250mm (10") | 500x | 250 to 350x |
| 305mm (12") | 610x | 300 to 400x |
Why does aperture matter if you stay under 200x? Because aperture determines resolving power, not just maximum magnification. An 8" telescope at 200x shows significantly more detail on Jupiter than a 4" telescope at 200x. The larger aperture resolves finer features, collects more light, and produces a brighter, sharper image at the same magnification.
In practice, atmospheric seeing limits most nights to around 200 to 250x regardless of aperture. But the larger scope still wins because it resolves more within that usable range. The rare nights of exceptional seeing, where you can push to 350x or higher, are when big apertures truly shine.
Read also: How to Increase the Magnification of a Telescope
For planetary imaging (lucky imaging), you can exceed the visual magnification limit because stacking software selects only the sharpest frames from thousands of video captures. Effective magnifications of 3x to 5x per mm of aperture produce excellent results in skilled hands.
Best Telescopes for Planetary Viewing
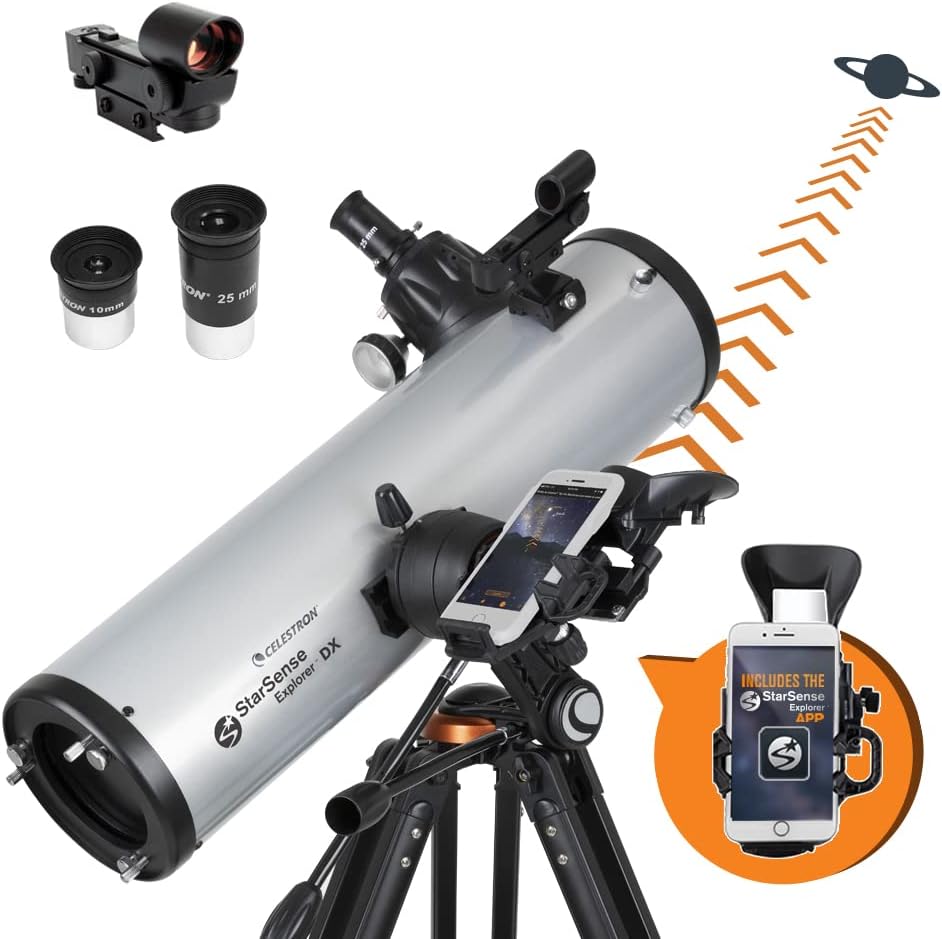
Planets demand aperture for detail and focal length for easy high magnification. Tracking mounts help enormously because planets drift out of the field of view within seconds at 200x+. Here are our top picks from the catalog, ranked by planetary performance.

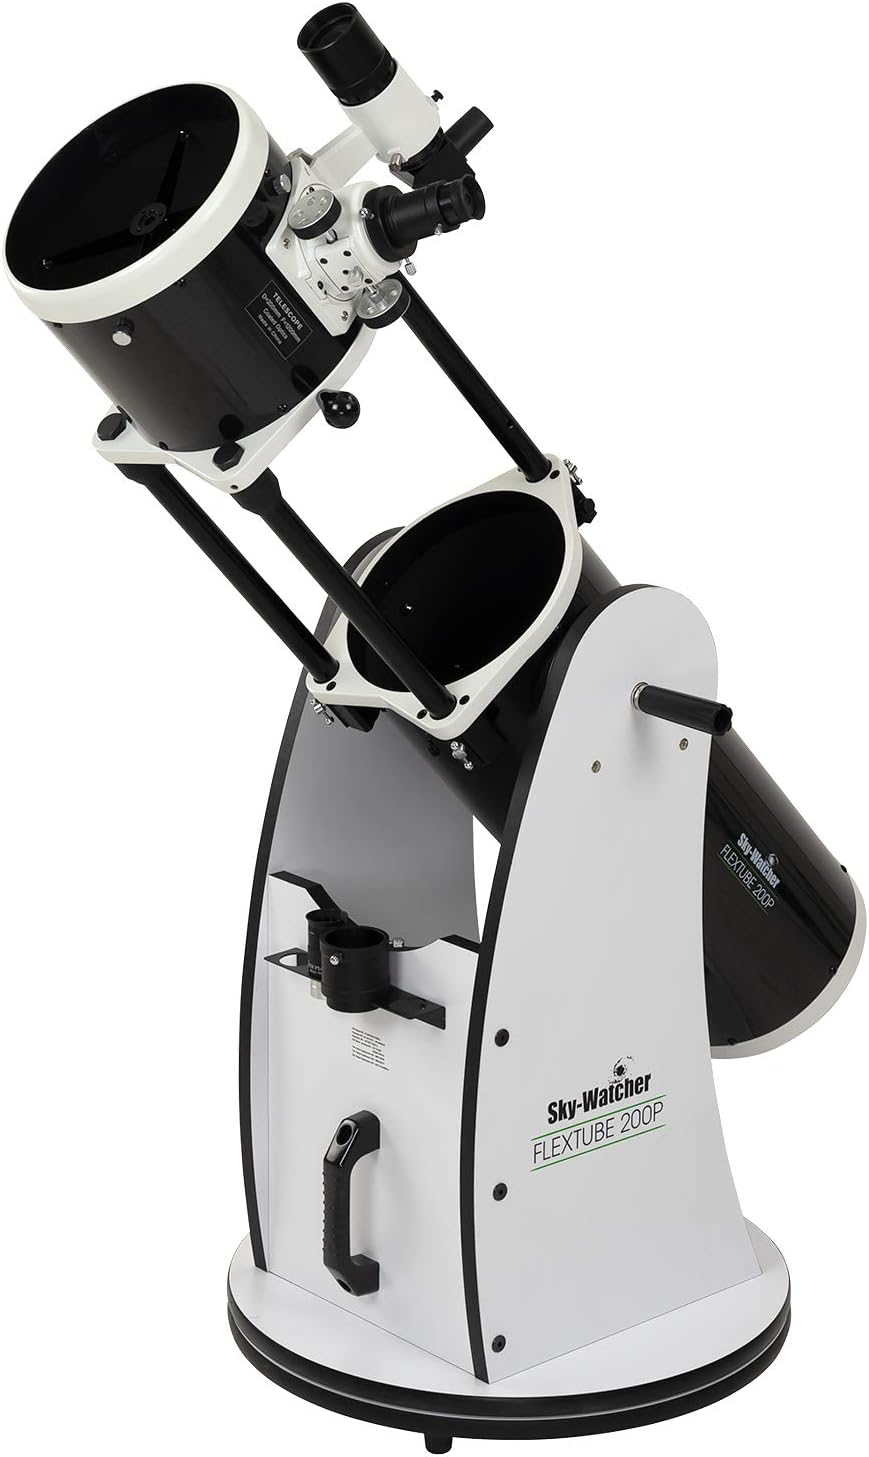


Explore all options: 21 Best Telescopes to See Planets (Read This First!)
Essential Eyepieces for Planetary Viewing
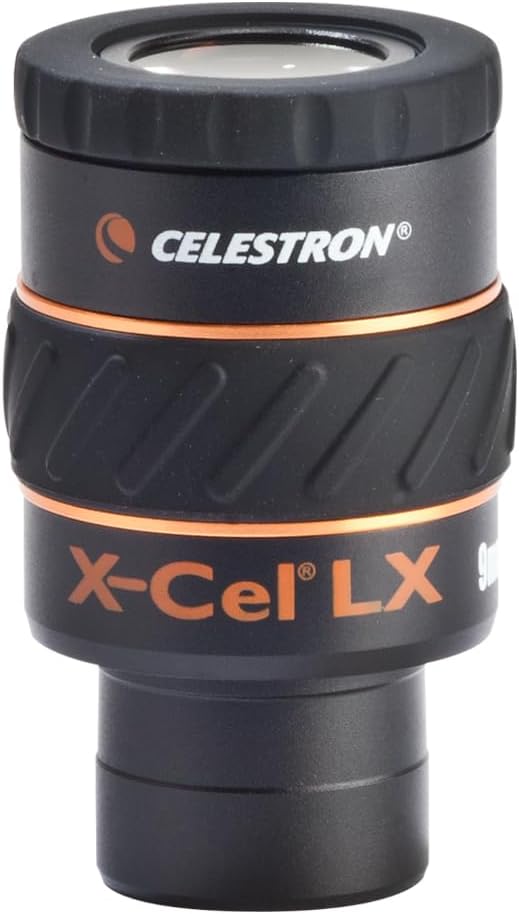
The eyepiece is where magnification happens. Your telescope's included eyepieces are a starting point, but purpose-built planetary eyepieces deliver sharper, higher-contrast views. Short focal lengths (4 to 9mm) are the planetary workhorses. Zoom eyepieces let you dial in the perfect magnification without swapping.


Barlow Lenses: Multiply Your Magnification
A Barlow lens sits between the eyepiece and the telescope, multiplying the effective magnification. A 3x Barlow turns a 9mm eyepiece into a 3mm equivalent (tripling the magnification). This is the most cost-effective way to expand your magnification range for planetary viewing.


Planetary Imaging Gear
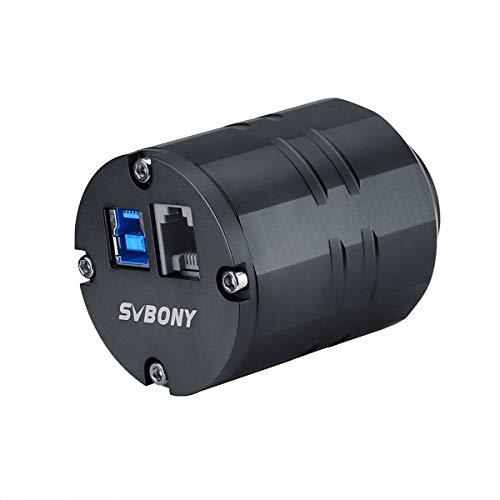
Photographing planets uses a technique called lucky imaging: you record thousands of video frames at high speed, then stacking software (like AutoStakkert or Registax) selects and combines the sharpest frames. The result can surpass what your eye sees at the eyepiece.

Tips for the Sharpest Planetary Views
Equipment is only half the equation. Technique and conditions determine whether you see a crisp, detailed planet or a shimmering blob. Follow these tips to get the most from any telescope.
Let Your Telescope Cool Down
Thermal equilibrium is the single biggest factor most beginners overlook. When you bring a telescope outside, the optics are warmer than the surrounding air. The warm air rising off the mirror or lens creates turbulence inside the telescope tube, distorting the image at high magnification.
Set your telescope outside 30 to 60 minutes before you plan to observe. Larger apertures take longer to reach equilibrium. An 8" SCT needs a full hour. A 5" refractor might be ready in 20 minutes. You will know it is ready when the view at 200x snaps into focus instead of swimming.
Collimate Your Optics
If your telescope uses mirrors (Newtonian, Dobsonian, SCT), collimation is not optional for planetary work. Even slight misalignment softens the image. A star test at high magnification reveals whether collimation is off: the diffraction pattern should be concentric rings, not a lopsided blob.
Collimate before every serious planetary session. It takes 5 minutes once you know the process and makes a dramatic difference at 200x+.
Read also: How to Collimate a Telescope
Read the Atmosphere
Atmospheric seeing limits your effective magnification more than your equipment does. On a night of poor seeing, even a 16" telescope cannot use more than 150x without the image breaking up. On a night of perfect seeing, a 6" scope delivers jaw-dropping planetary views at 250x.
- High-pressure systems bring stable, sinking air and excellent seeing. When the barometer is high and steady, go observe.
- Jet streams overhead cause terrible seeing. Check jet stream forecasts and avoid nights when a jet stream passes over your location.
- Planets high in the sky give better views because you look through less atmosphere. Saturn at 60 degrees altitude is dramatically sharper than Saturn at 20 degrees.
- Seeing forecasts from sites like Clear Outside rate seeing conditions from 1 (terrible) to 5 (excellent). Aim for 3+ nights.
Observe During Opposition
Outer planets (Mars, Jupiter, Saturn) are at their largest and brightest during opposition, when Earth passes between the planet and the Sun. Jupiter and Saturn reach opposition roughly every 13 and 12.5 months respectively. Mars opposition occurs every 26 months and varies dramatically in quality.
Plan your most ambitious observing around opposition dates. Check Heavens-Above for upcoming dates.
Higher magnification is not always better. There is a "sweet spot" for each night where detail is maximized without losing sharpness. Start at 100x, then increase incrementally. The moment the image starts to soften, back off one step. That is your limit for the night.
Use the Right Eyepiece, Not Just the Shortest One
Cramming in the shortest eyepiece you own does not automatically give you the best view. If seeing conditions only support 200x, using a 3mm eyepiece that delivers 400x will show a bigger but worse image than a 6mm eyepiece at 200x. Match your eyepiece to the conditions.
Learn more: How Does a Telescope Work? (Step by Step)
Ready to try it?
The gear from this article, in the order we cover it.
Best Overall for PlanetsCelestron NexStar 8SESee today's price on Amazon →Best Mid-RangeCelestron NexStar 6SESee today's price on Amazon →Premium PickCelestron NexStar Evolution 8See today's price on Amazon →Opens Amazon in a new tab. We may earn a commission at no extra cost to you.